


Entry price point toilets
6 Items
-
In StockIn Stock SAIn Stock QLD
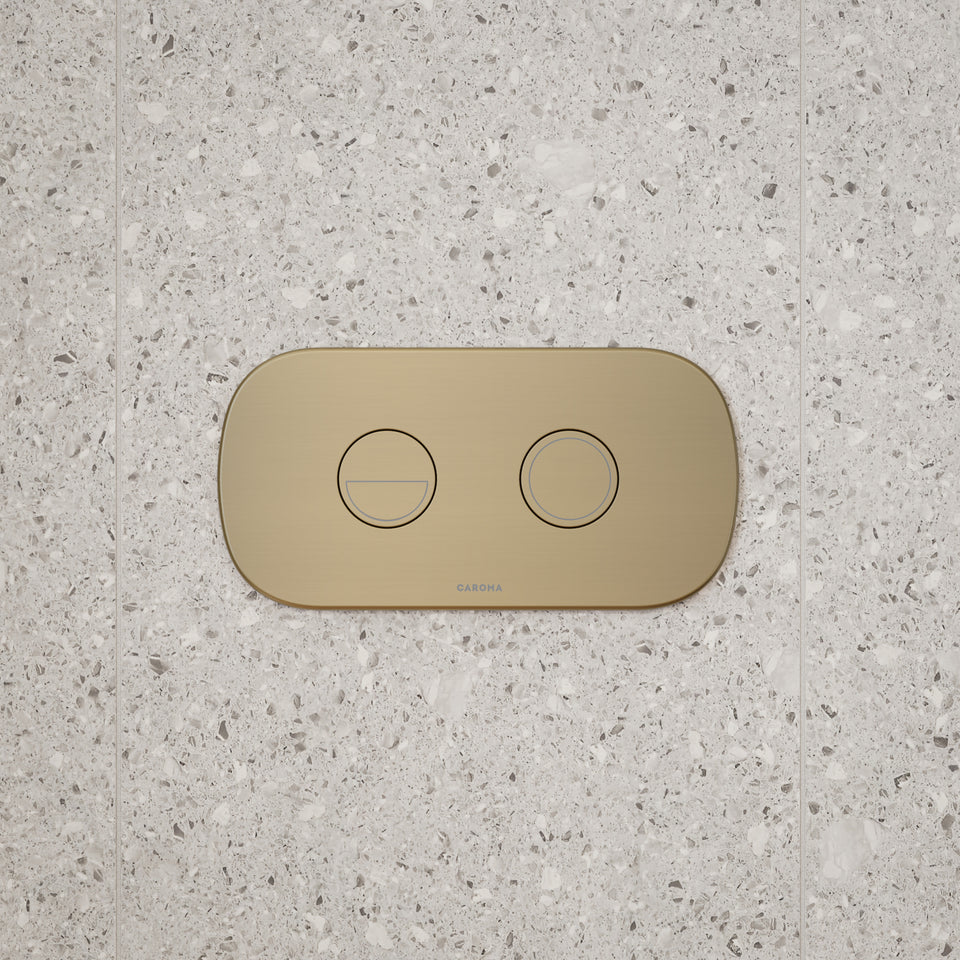
Sold out Caroma Contura II Invisi Series II Round DC Dual Flush Button Panel - Brushed...
Checking delivery...$406 -
In Stock
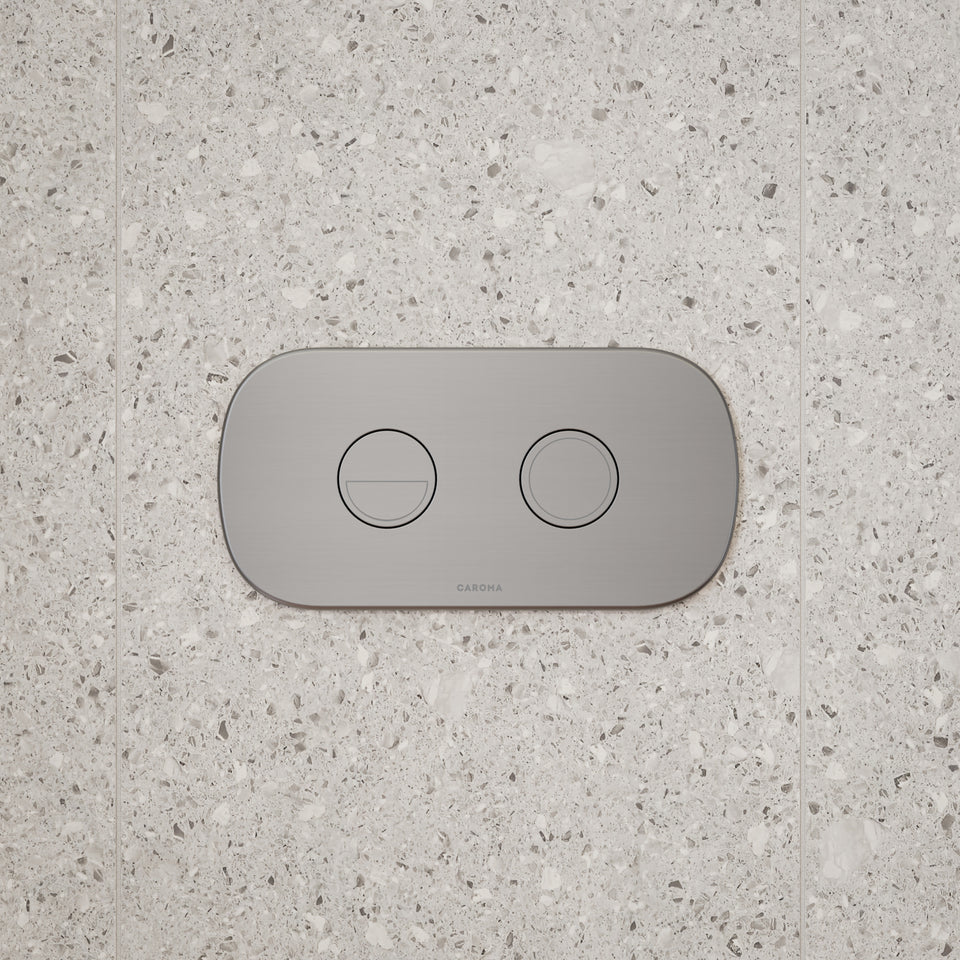
Sold out Caroma Contura II Invisi Series II Round DC Dual Flush Button Panel - Brushed...
Checking delivery...$406 -
In StockIn Stock SAIn Stock QLD
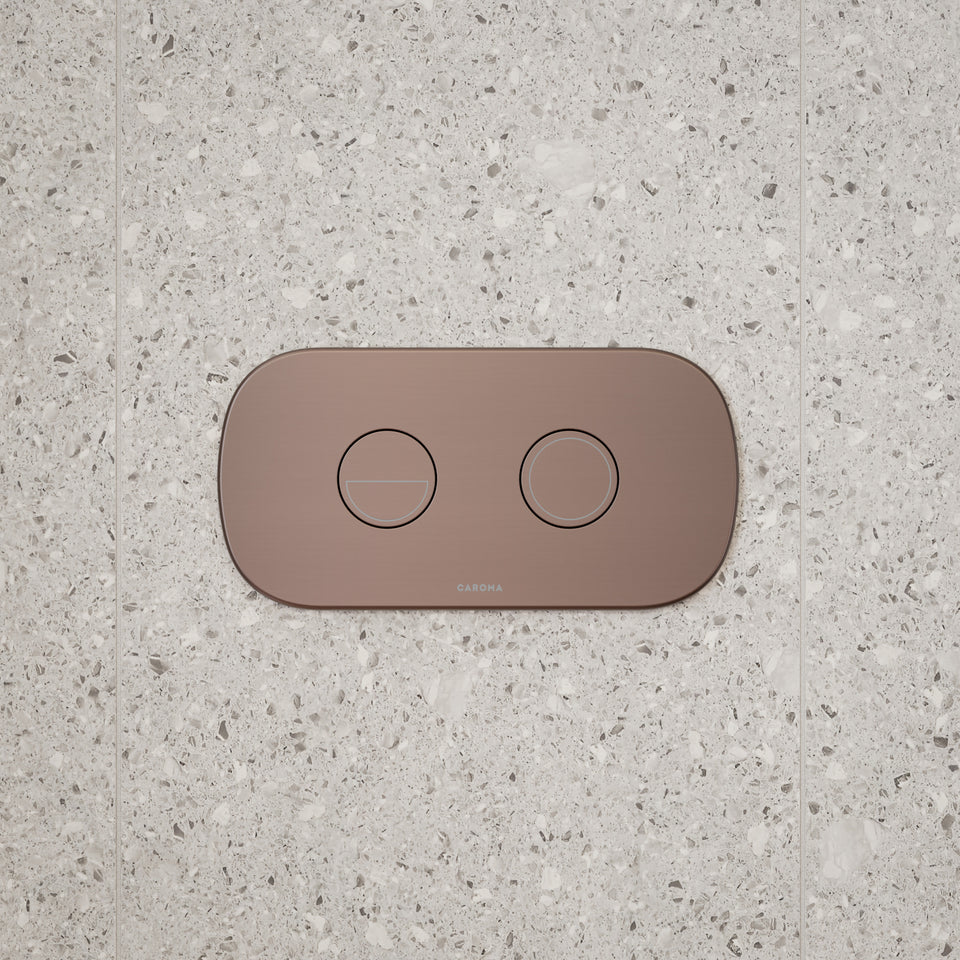
Sold out Caroma Contura II Invisi Series II Round DC Dual Flush Button Panel - Brushed...
Checking delivery...$406 -
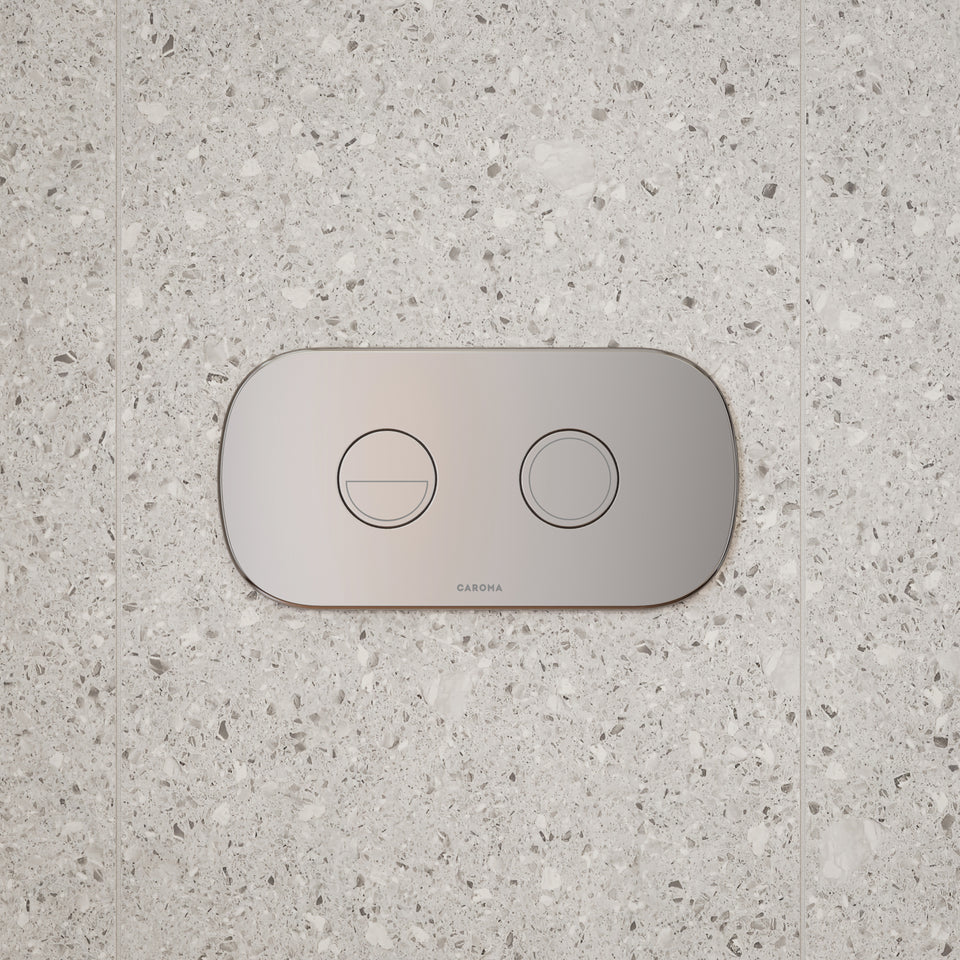
Sold out Caroma Contura II Invisi Series II Round DC Dual Flush Button Panel - Chrome
Checking delivery...$312 -
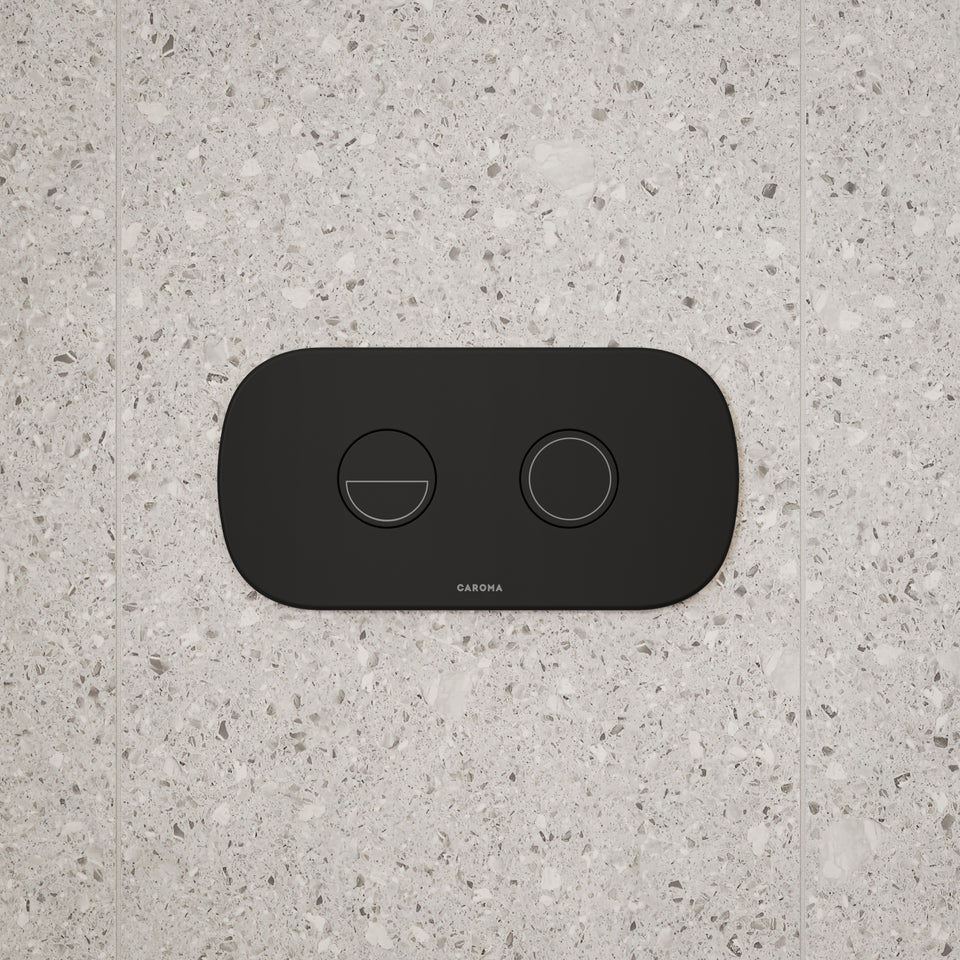
Sold out Caroma Contura II Invisi Series II Round DC Dual Flush Button Panel - Black
Checking delivery...$344 -

Sale On Now!
Up to 70% off across the store, plus free towels and mirrors up for grabs on orders over $800*
-
In Stock

Sold out Nero In Wall Toilet Push Plate - Graphite
Checking delivery...$404

The toilets in this collection
This collection groups toilet suites from Caroma, Bao, Indigo and Fienza, with matching buttons, hinge caps and seats. Most suites state a 4 star WELS rating with a 4.5 and 3 litre dual flush. Whichever suite you choose, check the trap, the set out, the inlet and the projection first. A floor outlet takes an S trap and a wall outlet takes a P trap, and the universal traps fit either. The main toilets guide explains how to measure each one.
Caroma suites
The Luna suites have a 395mm pan height, an 805mm overall height and a width of 373mm. The Luna Cleanflush lists an S trap set out of 60 to 205mm, and the Luna wall faced suite lists 60 to 185mm. The Luna Slim versions have an upgraded seat, and the Luna Cleanflush close coupled suite stands about 815mm high. The Urbane II Cleanflush wall faced suite has a 440mm pan height, a 655mm projection, an S trap set out of 60 to 200mm and a P trap set out of 185mm, with a back or bottom inlet. The Profile II close coupled suite lists a Mirage pan, a Profile cistern with round chrome dual flush buttons and a soft close seat, but no sizes. The Aire Concorde is a connector suite with a set out of 155 to 255mm and a bottom inlet, covered on connector linked toilets. The full range is on Caroma toilets.
Bao and Indigo suites
The Bao Elegant universal rimless suite has a 410mm pan height, a 640mm projection and a set out of 100 to 200mm, and the raised height suite has a 440mm pan height and a 670mm projection. The Indigo Cali has a 410mm pan height and a 620mm projection, and the Indigo Ridge has a 410mm pan height and a 665mm projection. The Indigo Cali II raised height has a 450mm pan height, a 675mm projection and a set out of 150 to 200mm, and it includes a vario bend. The Bao suites list a slim seat and cover, and the Indigo suites list a soft close quick release seat. See Bao toilet suites and Indigo toilets.
Fienza Koko suites
The Fienza Koko tornado flush back to wall suites come with a Geberit internal cistern, one with a P trap and one with an S trap. The P trap suite has an 850mm overall height, a 425mm pan height, a 660mm projection and a 385mm width, with a back or bottom entry. The listing's feature list mentions a seat and buttons but its box list shows only the toilet and the installation instructions, so confirm what is included before you order. See Fienza toilets and tornado flush toilets.
Comparing the brands by their listed numbers
Pan height runs from 395mm on the Luna to 410mm on the Bao Elegant, Indigo Cali and Indigo Ridge, 425mm on the Fienza Koko and 440mm on the Urbane II. The raised height versions sit higher again, at 440mm on the Bao and 450mm on the Indigo Cali II. Projection runs from 620mm on the Indigo Cali to 675mm on the Indigo Cali II, so the brand you choose changes both the seat height and the floor space.
Luna, Luna Cleanflush and Luna Slim compared
Four of the Caroma suites here belong to the Luna family, and their technical sheets show the differences. The Luna wall faced suite (specification sheet revision 3, October 2019) has a washdown pan with a box flushing rim, while the Luna Cleanflush and Luna Slim Cleanflush suites have a rimless pan. All three are wall faced close coupled suites with a universal trap for S or P installations, a 4.5 and 3 litre dual flush and a 4 star WELS rating.
The Luna sheet says the contoured wall faced design conceals the plumbing fittings and that the suite is targeted at commercial projects but also suits domestic use. It lists an overall height of about 805mm, a width of 373mm, a recommended S trap set out of 140mm and a set out range of 60mm to 185mm with the Uni-Orbital connector. The Luna Cleanflush sheet gives the same height and width but a set out range of 60mm to 205mm. That 20mm difference is the one to check against your waste.
The Cleanflush sheet explains the rimless pan in the maker's terms. A flow splitter sends water around the top of the bowl to meet a flow balancer, which directs the water into the sump. The sheet says this reduces the need for brush cleaning and that a rimless pan gives full visibility of any grime build up. Those are the maker's statements and the sheets give no test figures. The visibility point is a plain fact about the shape, since a closed rim has nowhere to hide anything.
What the Uni-Orbital connector does
The sheets describe the Uni-Orbital connector as patented and say it extends to any position within a 50mm radius, where traditional connectors only move backwards and forwards. The pan instructions show the connector positioned anywhere within a shaded area up to 50mm sideways. In practice, the pan can sit on the line of the wall even if the old waste sits a little to one side. The connector instructions come with the pan, and the plumber has to follow them.
Fixing the pan: bedding or brackets
The Luna Cleanflush pan instructions, issue 4 dated 7 June 2023, give two fixing methods. Bedding means removing the tiles inside the foot area to expose the subfloor. The installer mixes sand and cement at 3 parts to 1 to a depth of 60mm and levels the pan into the bed with the back of the foot about 10mm above the finished floor. Blanking caps go into the pan fixing holes, and the instructions warn against lime or fast drying cement, because they may crack the foot. The cistern is placed on the pan to check it is level and lines up with the tile edges, and the bed is left to set for at least 24 hours.
Bracket fixing uses the D82 concealed fixing brackets. They sit on the pan centreline 280mm from the finished wall for the Luna pan, and two holes are drilled in the floor. A bead of acetic cured silicone sealant about 8mm high runs around the foot, wedges support the pan, and the sealant is no more than 5mm high when finished. The pan screw goes into the bracket through a plastic sleeve, and the instructions say not to over tighten because that may crack the pan foot. They say to support the foot while the sealant sets and to allow at least 24 hours before use.
One instruction for a bottom inlet suite is easy to miss. The flexible hose, which is not supplied, has to be fed through the side of the pan and up to the cistern inlet valve before the pan is installed. The Urbane II pan instructions say the same.
Fitting the close coupled cistern
The universal close coupled cistern instructions, issue 4 dated 8 June 2023, are short. A self adhesive foam seal goes around the outlet on the base of the cistern. The flexible hose connects to the inlet valve and runs through the side hole of the pan, and the cistern is positioned on the pan. Winged fixing bolts with seals go through the cistern fixing holes into the threaded holes in the pan, and the nuts on both sides are tightened gradually by hand. The inlet valve can be changed from right to left. The water level is set by turning the float arm adjustment screw until the water reaches the level mark inside the cistern.
The back entry version differs in one respect. While lowering the cistern onto the pan, the installer angles the top of the cistern away from the wall until the cut out clears the connection nipple in the wall. A cistern stop valve is fitted to the half inch BSP nipple with approved thread seal, angled downward. The instructions add that, as specified in AS/NZS 3499, flexible hose assemblies must not be submerged, and the hose must not rub against the inside of the cistern. The sheets say an accurate wall set out for the half inch nipple is essential, with the nipple projecting 22mm from the finished wall, and that the stop valve is concealed within the cistern.
The instructions repeat the matching rule. A satisfactory 4.5 and 3 litre flush and a 4 star rating need the cistern matched with a compatible pan from the same maker's smartflush range, which is a reason to treat a suite as a set. The sheets also give a working pressure of 30kPa to 1000kPa and describe the cistern as rainwater tank compliant.
Which inlet, and a question on the back entry kit
The sheets list the suites with a bottom inlet or a back entry, each with an internal overflow. The cistern instructions, however, head the back entry steps with an optional back entry conversion kit that is required, and give a kit code. The sheets and the instructions cover the same family of cisterns, and the sheets say the back entry version includes its stop valve. Ask the supplier whether the listing you choose is a back entry cistern as supplied or a bottom inlet cistern that needs the kit, and what is in the box.
Urbane II Cleanflush: the sheet is for ambulant compartments
The Urbane II Cleanflush wall faced suite lists a pan height of 440mm and a projection of 655mm. The specification sheet linked from the listing is headed for sanitary compartments in ambulant applications and says the suite is suitable for installation to comply with AS 1428.1-2021 Amendment 1, the standard for access and mobility. It tells the installer to refer to that standard for circulation space, grab rail and installation requirements, and warns that the dimensions in the sheet may change with amendments to the standard.
For that use, the sheet says to adjust the bedding height so the top of the seat to the finished floor height is within 460mm to 480mm. That is a specific figure the plumber can set. The sheet gives an overall height of about 845mm, a set out range of 60mm to 200mm with a recommended 140mm, and a back inlet connection 793mm to the centre. It says the suite has GermGard antibacterial protection on the pan and seat, which is the maker's claim, and a soft close quick release seat with stainless steel seat caps, with caps in brushed brass, black or gunmetal grey as options.
Two cases follow. A household that wants a taller seat can use the 460mm to 480mm figure as a reference for the bedding height. A commercial or accessible project has to follow the standard itself. Ask the supplier whether the sheet is the right one for the code on the listing, because the code printed on the sheet is for the ambulant version.
Fitting and cleaning the buttons
The button installation leaflets for the round metal buttons are one page each. The nut on the button assembly screws on from underneath the lid, and the button fits into the lid with the half flush line to the left. The installer checks that the HF and FF markings sit perpendicular to the back wall and tightens the nut by hand. The leaflets say never to use abrasive or harsh chemical cleaners on the button or lid, and that a wipe with warm soapy water maintains the decorative finish.
The Urbane II sheet says the cistern button is supplied in chrome, with black, brushed brass, brushed nickel and gunmetal grey available. A button matches the cistern it fits, so use the make and range on the listing to choose the right one.
How old the documents are
The Luna and Luna Cleanflush sheets are revision 3, dated October 2019. The pan and cistern instructions are dated June 2023, and the Urbane II pan instructions are issue 2. Documents of this age can still be current, but a newer issue may exist, so ask the supplier for the latest and give the plumber the one that matches the code. The Bao and Indigo specification sheets and install guides for the suites on this page could not be read as text, because they are image files, so the figures for those suites come from the listings. Ask the supplier to confirm those figures in writing.
Questions to ask about these toilets
Ask which set out range applies to the exact Luna code, since the wall faced sheet says 185mm and the Cleanflush sheet says 205mm. Ask whether the back entry suites come ready for back entry, and which sheet applies to the Urbane II listing. Find out what seat and button come in the box, and ask for the Bao and Indigo specification sheets as text. The plumber should measure the waste from the finished wall and check that the water pressure sits inside the 30kPa to 1000kPa range on the Caroma sheets.
Where the 4.5 and 3 litre dual flush comes from
Most suites on this page state a 4.5 and 3 litre dual flush, and the Caroma sheets and instructions treat that pairing as a fixed design, so its history is relevant. The Wikipedia article on dual flush toilets credits Bruce Thompson of Caroma in Adelaide with developing a two button cistern around 1980, with an 11 litre and a 5.5 litre flush. The State Library of South Australia says Caroma received a Commonwealth industry grant in the late 1970s to develop an effective dual flush toilet and launched it in 1981. The sources differ on the launch year, and one lists 1982, so 1980 is the design date most often cited and not a settled launch date.
The same Wikipedia article says earlier mechanisms used a single button, pressed quickly for a reduced flush or held down for a full flush, and that a button released too soon gave an ineffective flush. It also says an American designer proposed a dual flush idea in a 1976 book. The entry reports that a trial in a small South Australian town saved 32,000 litres of water a year per household, and that dual flush later became compulsory for new buildings in every state except New South Wales. Those figures were not checked against the trial itself, so treat them as the article's claims.
The volumes have fallen since then. The article says a 1993 cistern from the same maker used 6 litres for a full flush and 3 litres for a reduced flush, which is the 3 star row in the Western Australian WELS bulletin. The 4.5 and 3 litre pairing on these listings is the 4 star row in that bulletin. A pan built for 4.5 litres is designed around that volume, which is why the instructions insist the pan and cistern are matched.
Buttons, hinge caps and spares
A suite can be refinished later with new fittings. Buttons for exposed cisterns, and the cistern each one fits, are on cistern toilet buttons, and hinge caps and seats are on toilet hinge caps and buttons. Spare parts are matched by make and model, so keep the range name from the listing.

